
Desktop node setup
Make your desktop machine a node through Subshell Client.
Before you start
Follow Install Subshell Client, then open Nodes in the server dashboard's sidebar and select Add node. Choose a reachable address, generate a setup key, and select Desktop App to find the enrollment values.
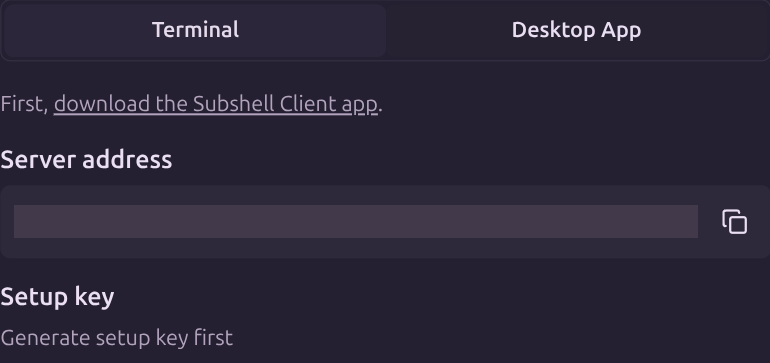
The client has a dashboard window and a separate node-management window. Local node operations belong to the node window.
If Subshell Client is already configured only to watch sessions, open its local window using Window → Open Client App or the tray's Open Client App item. Choose Service in that window's sidebar and select Register this machine, following any node-installation prompts first.
Enroll
- Open Subshell Client and choose Run subshells on this machine. If its dashboard is already open, choose Window → Open Client App in the app's menu bar, or Open Client App in its tray menu to open the local node window.
- Enter the server address and setup key.
- Choose a recognizable machine name.
- Follow the tmux and service instructions.
- Verify that the node appears online in the server's node list.
The client bundles the node binary. It can enroll even when the control plane has no downloadable node binary staged locally, provided the bundled version is compatible.
Configure local execution
Install coding agent CLIs under the node's OS account. Set Directory restrictions and confirm the appropriate persistence mode before leaving a task running.
The node remains an execution machine, while the server still stores instance configuration and serves the dashboard.
Removal
In Subshell Client's local node-management window, select Reset in its sidebar and review the deletion plan before confirming. This is separate from resetting the remote server. Read Unenroll a node first.
Next steps
Launch a subshell on the new node.
Edit on GitHubLast updated on